There is nothing better than feeling understood.
Customer service representatives know the needs of their customers. They interact with them daily and they understand their pain points, the solutions they seek, and the results they expect. It only makes sense that these are the people who build the specific tools to serve their customers in the best way possible.
When it comes to customer service software, companies that use the software usually do not get to create something that specifically fits their customers’ individual needs.
With our new Chatbot User Interface, we are changing that.
From now on, LiveHelpNow admins will have the ability to create their own live chatbots. They will have the power to control all the settings of the chatbots, including questions and answers, actions based on customer responses, and specific steps of customer-chatbot interactions.
So, let’s take a trip to the inner world of chatbots. Don’t worry, they are a friendly bunch. And they will pick up the conversational slack in a way that suits your brand and your customers best.
DIY Chatbot User Interface: Do You Want to Build a Robot?
Some companies might decide that their customers only need the chatbot for the few standard initial questions before starting a conversation with live agents. Others might need to develop a bot to respond to customer inquiries after hours when live agents are not available. Whatever the need for the chatbot is, the Chatbot User Interface will help admins set it up just the way they want it.
To get started, find the settings window in the Admin Workspace.
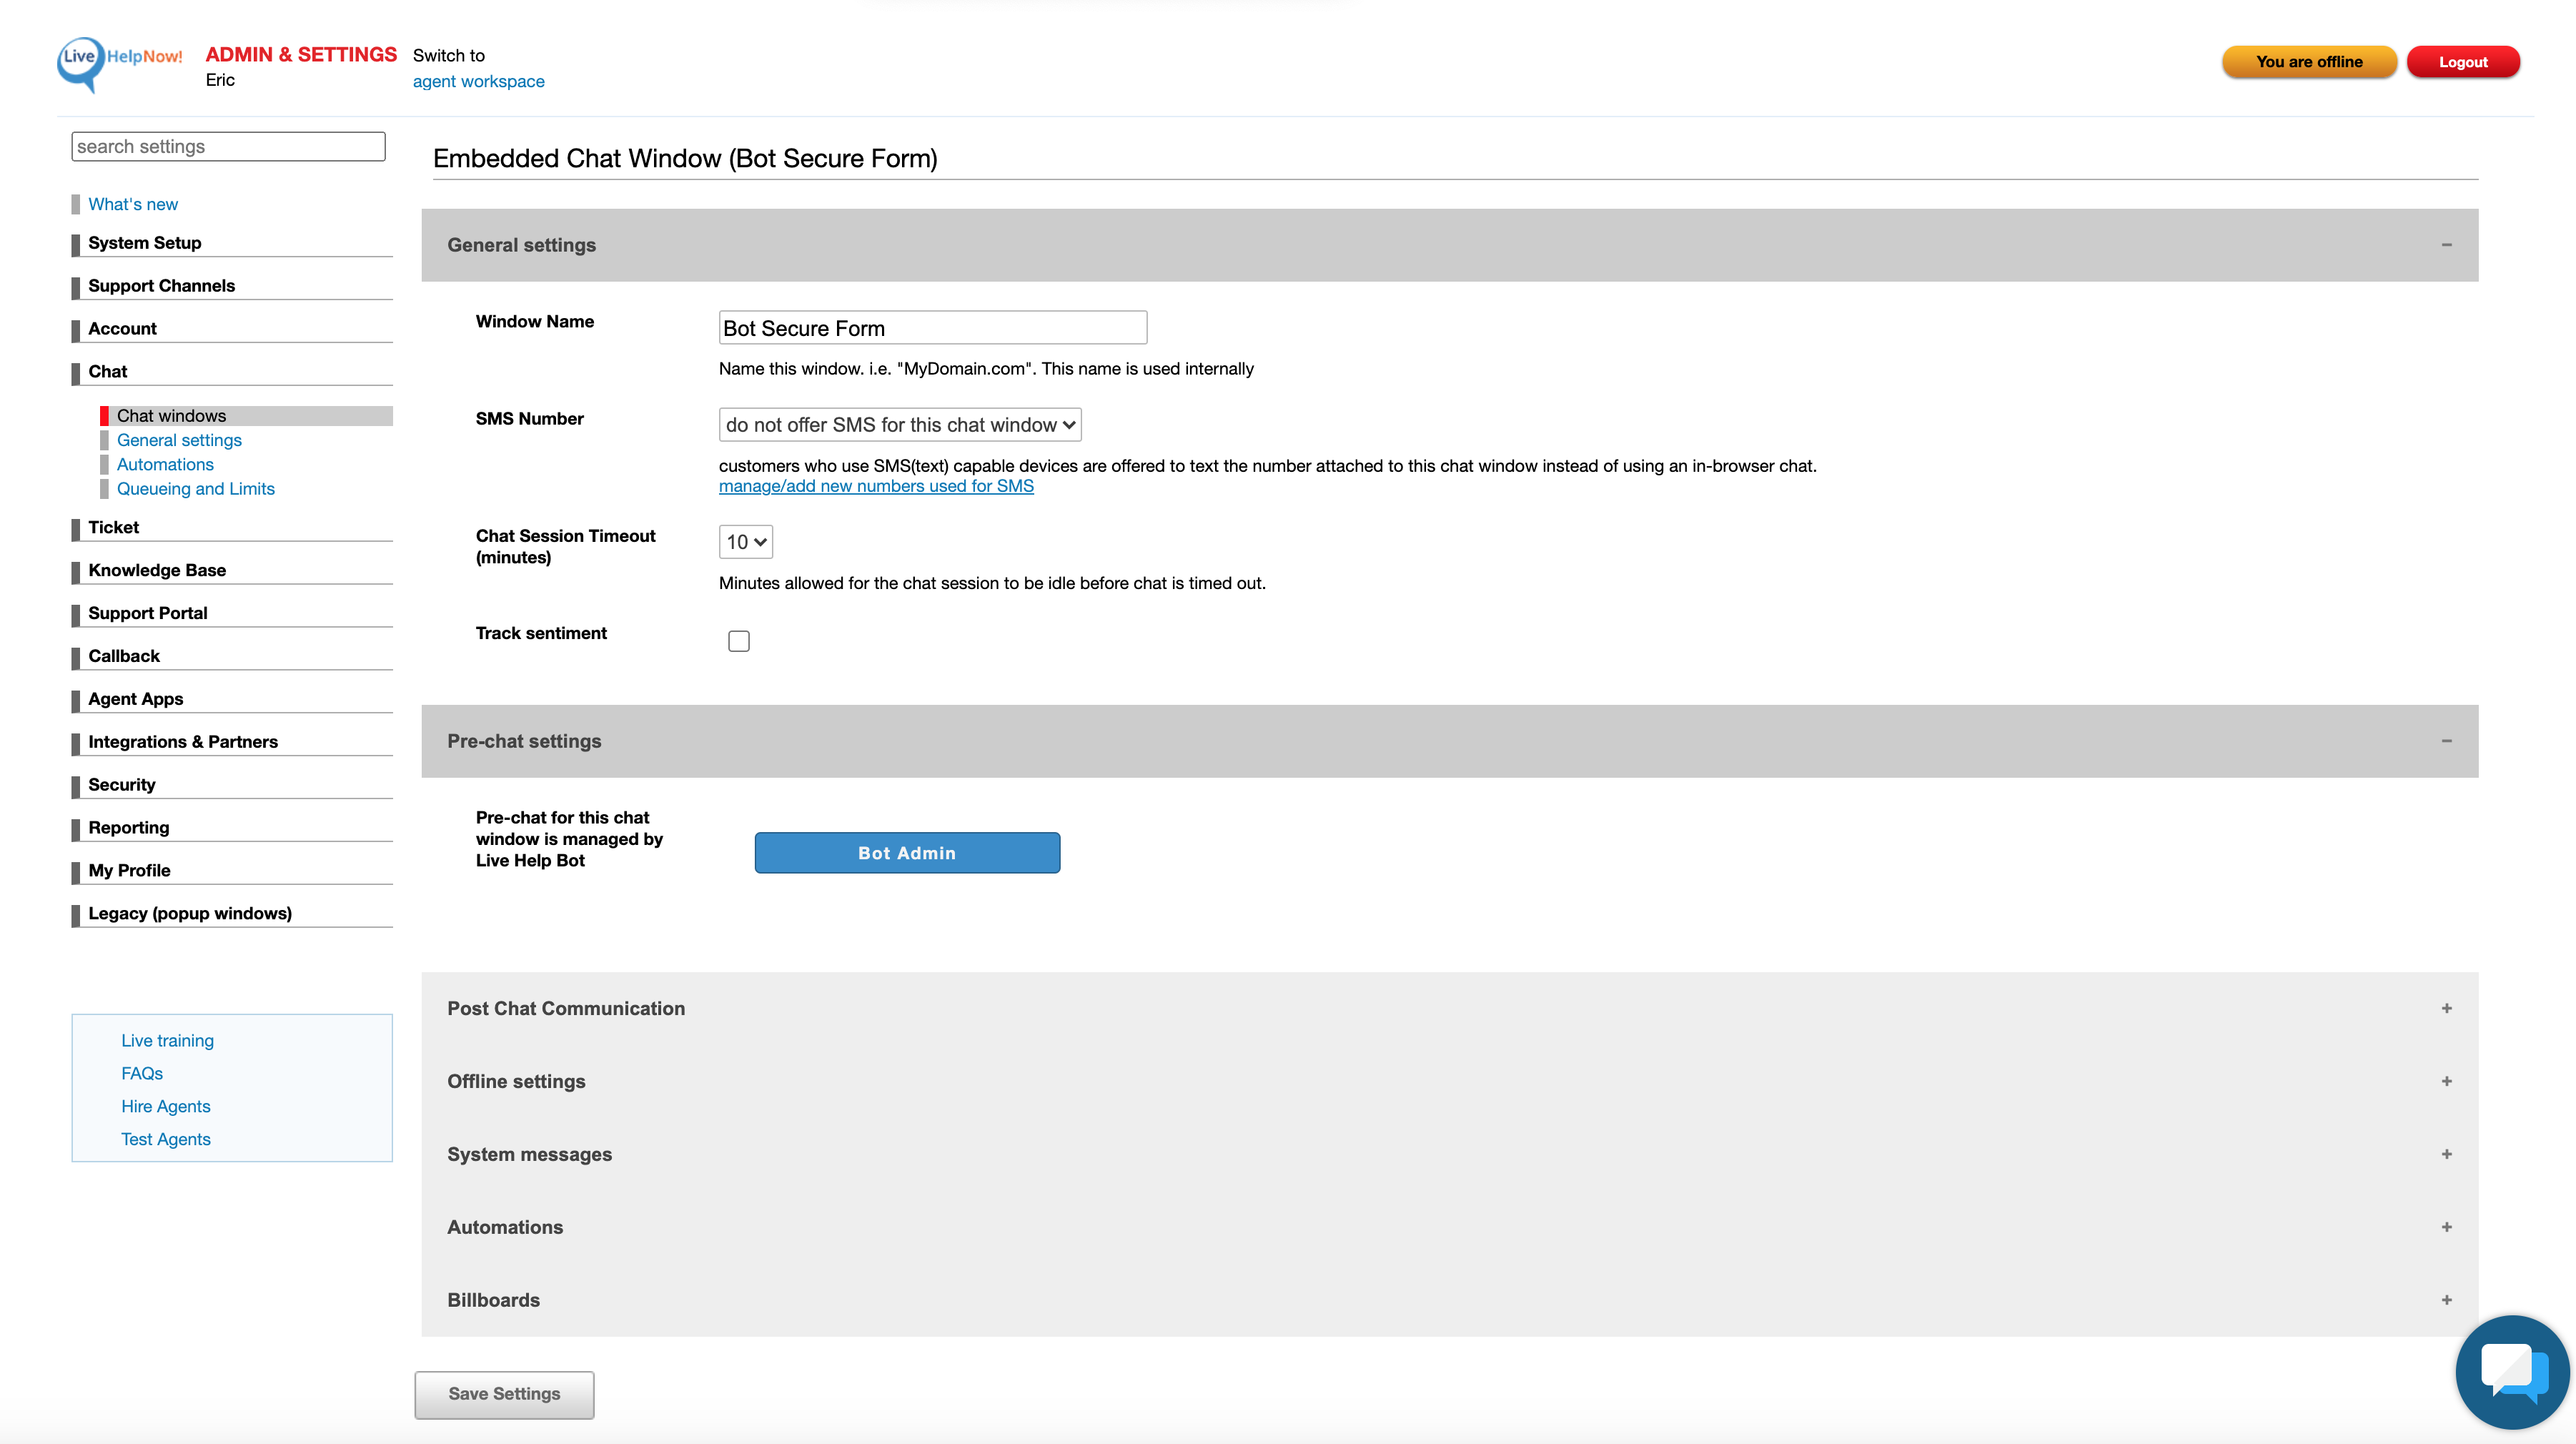
The Chatbot User Interface will open in the next window, ready for further setup.
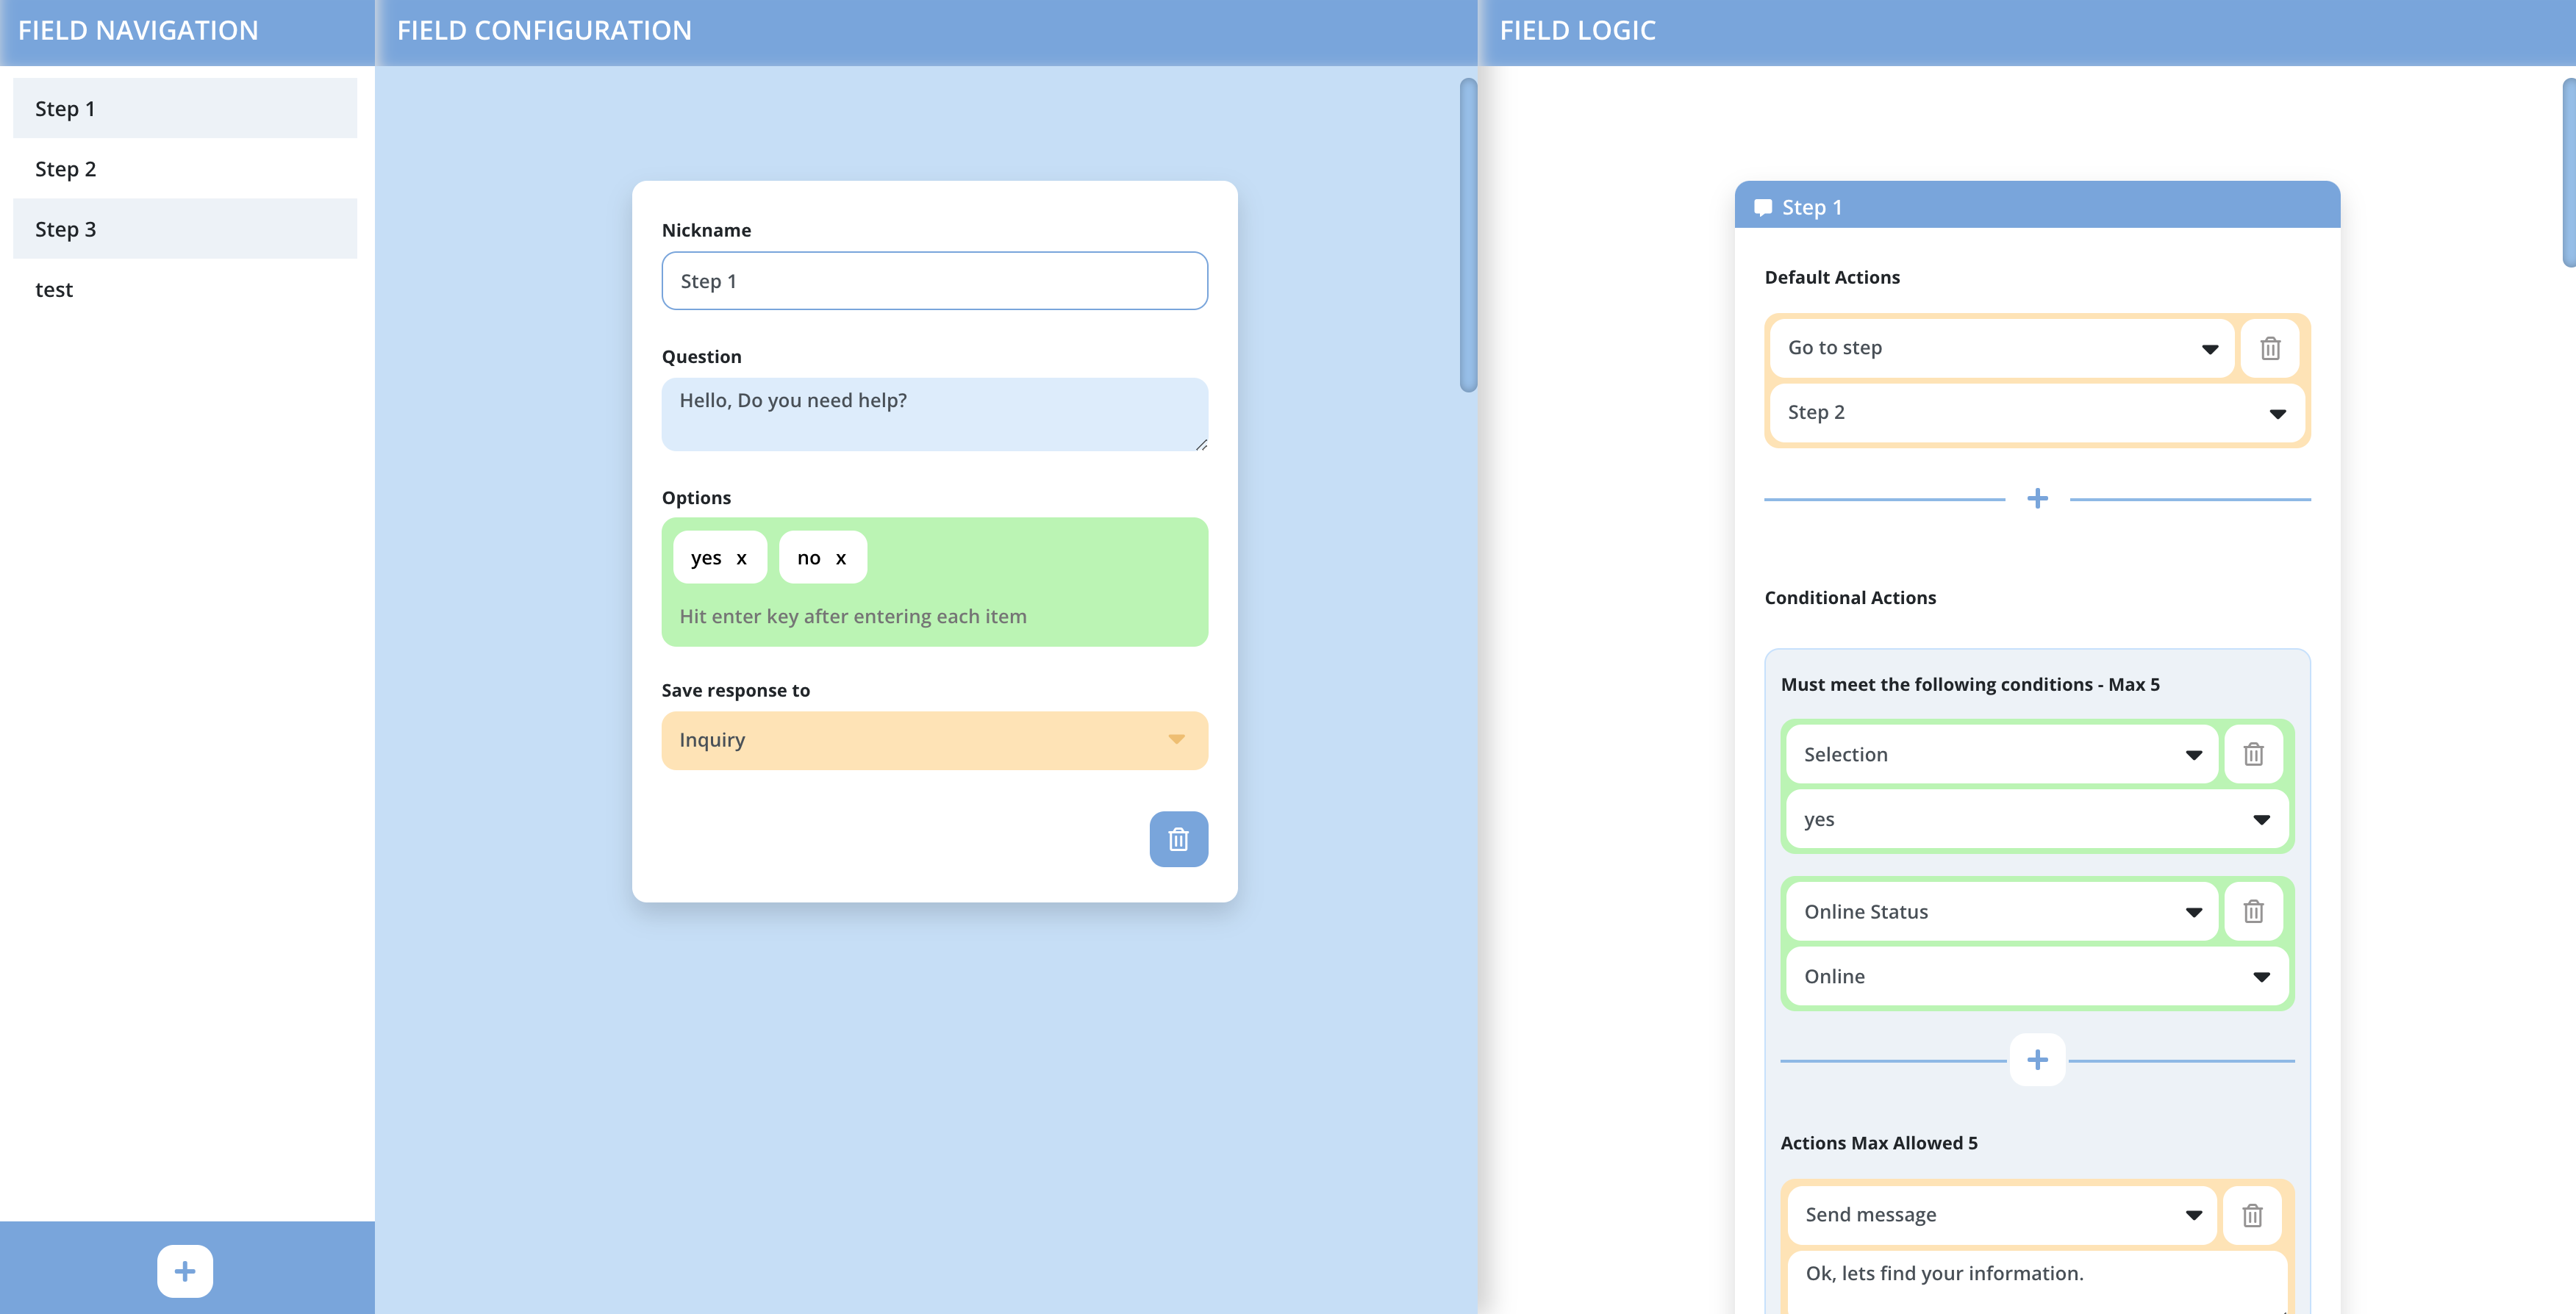
To create a new step, the user can click the plus button in the left column. The new field window will appear in the same column.
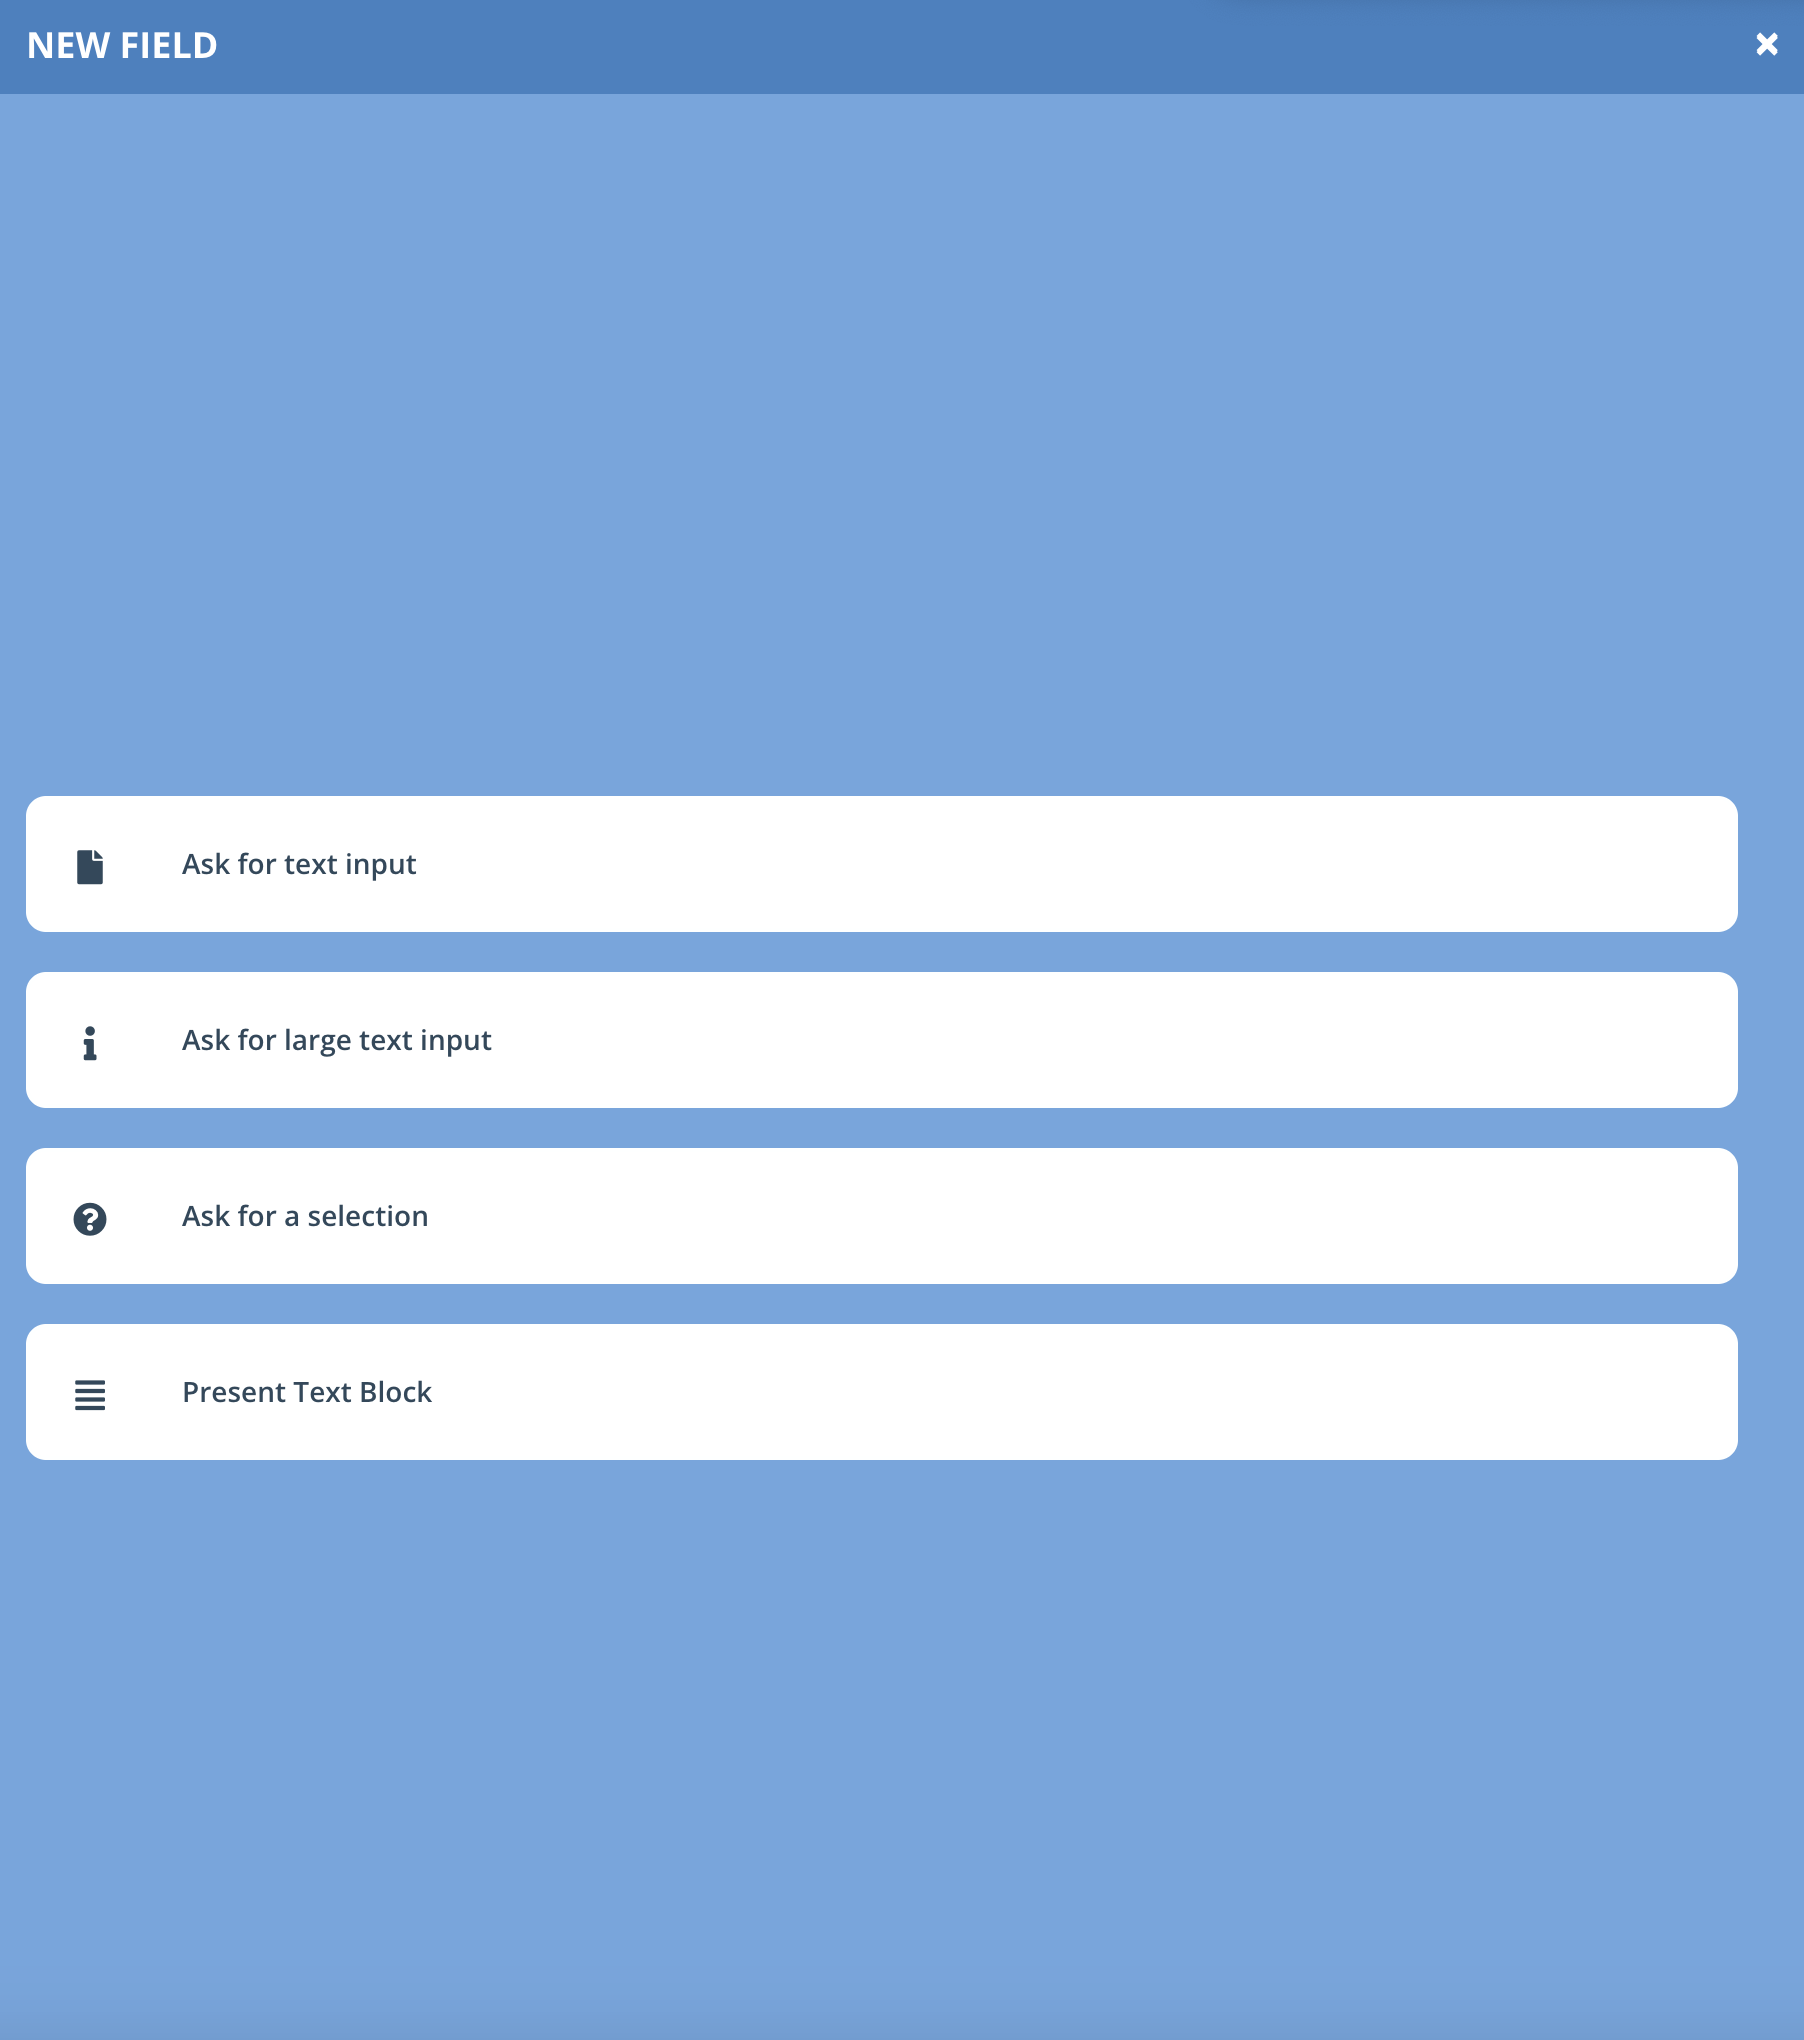
Users can create multiple interaction steps, setting actions and conditions for each. They can base the steps and actions for the chatbot to perform on the customer responses.
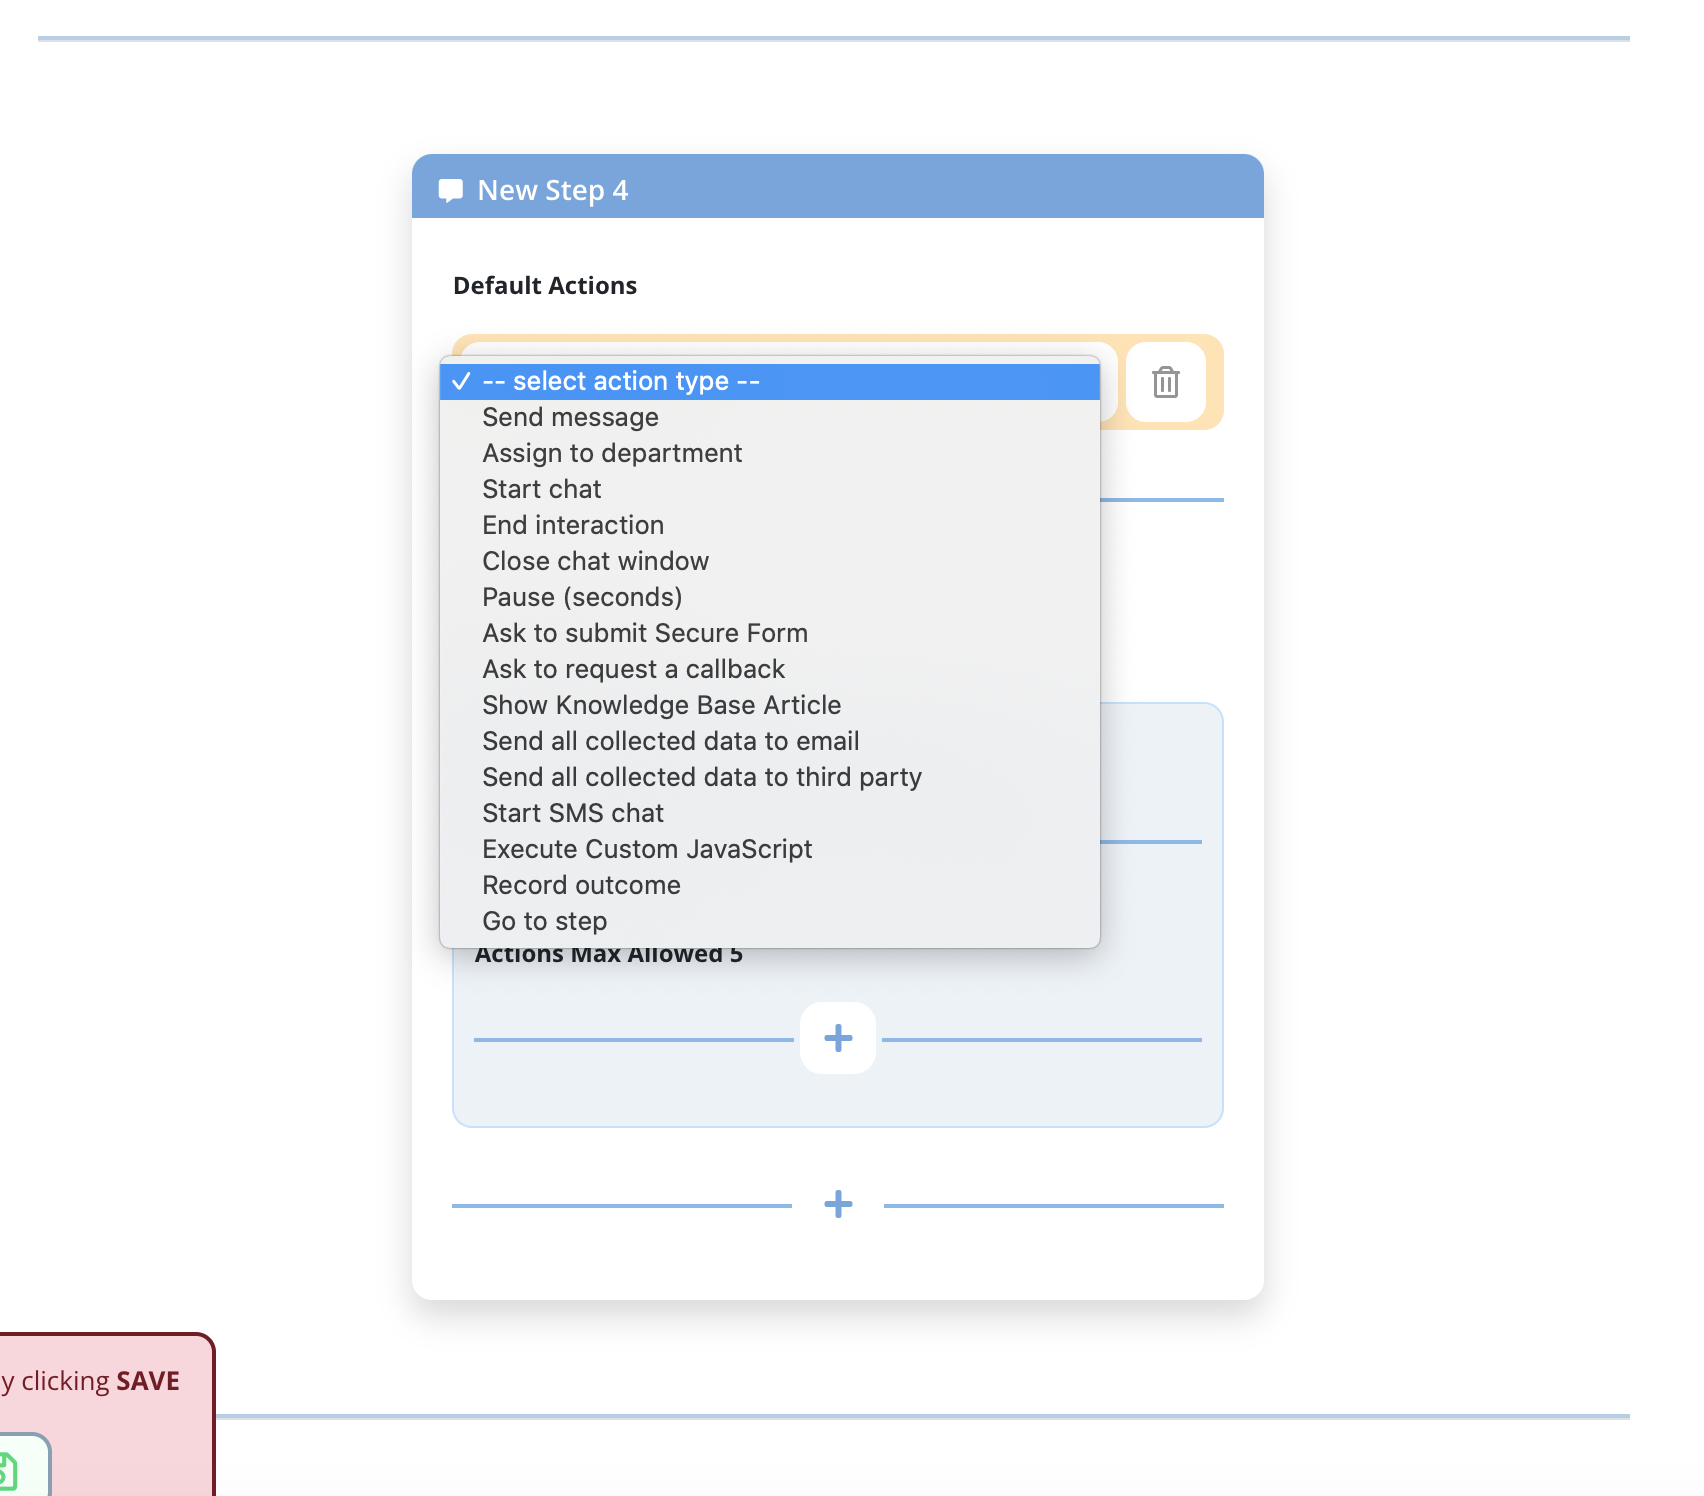
Each action follows the logic set up that admins can control in the drop-down menu, in the fields with a yellow background. Depending on the settings, the bot will move onto the next action by default or in accordance with the conditional actions. The admins can set up the conditional actions in the blue fields below in each step window.
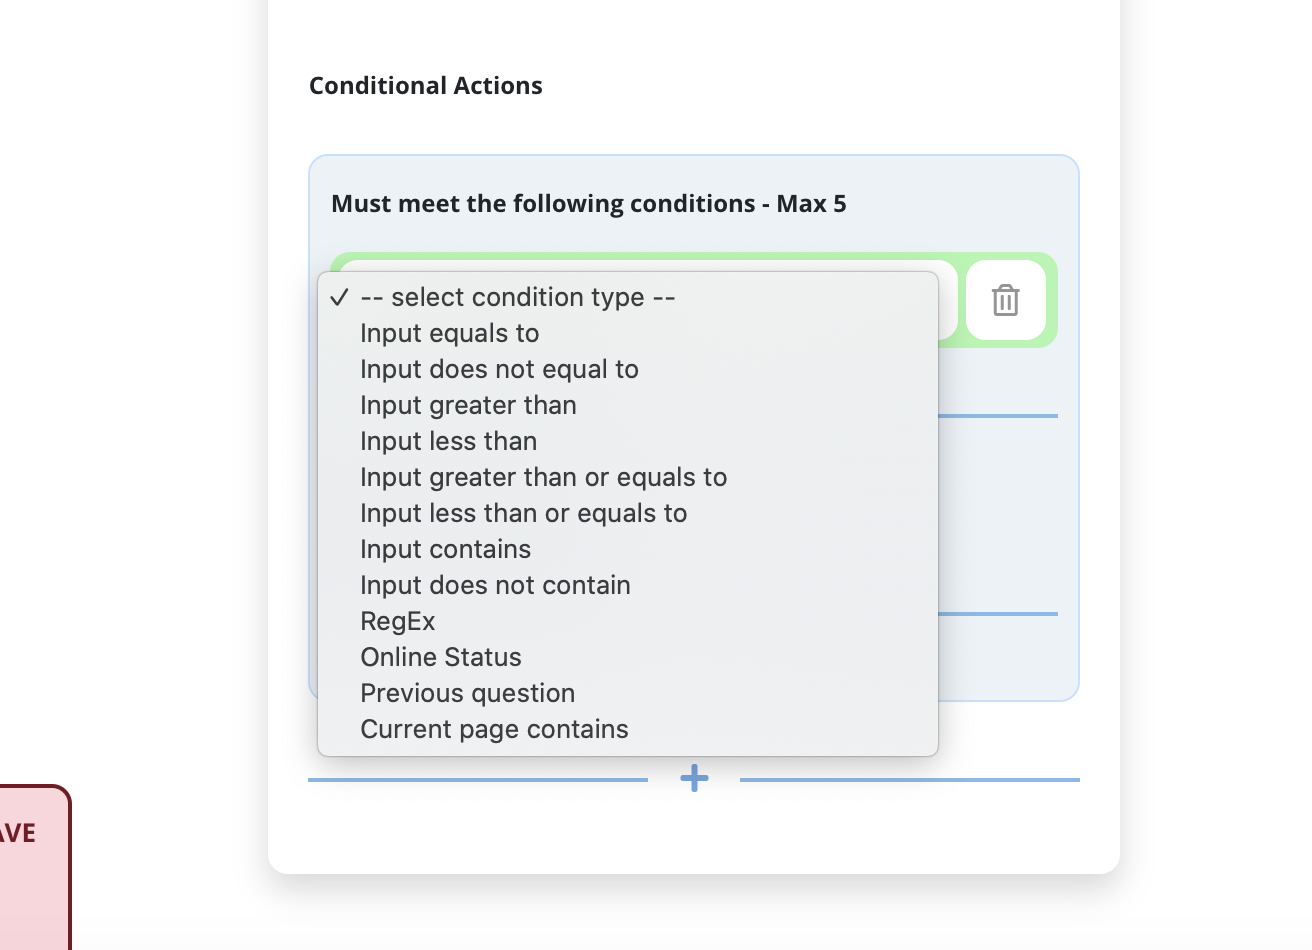
The logic of each step will depend on the needs of the company, the specific nature of each conversation with a customer, and the available options for the bot to follow. This is a wonderful part of the process because the admins can use the DIY Chatbot User Interface to create a truly personalized customer experience. After all, they are the ones who know and understand their customers and their journeys best.
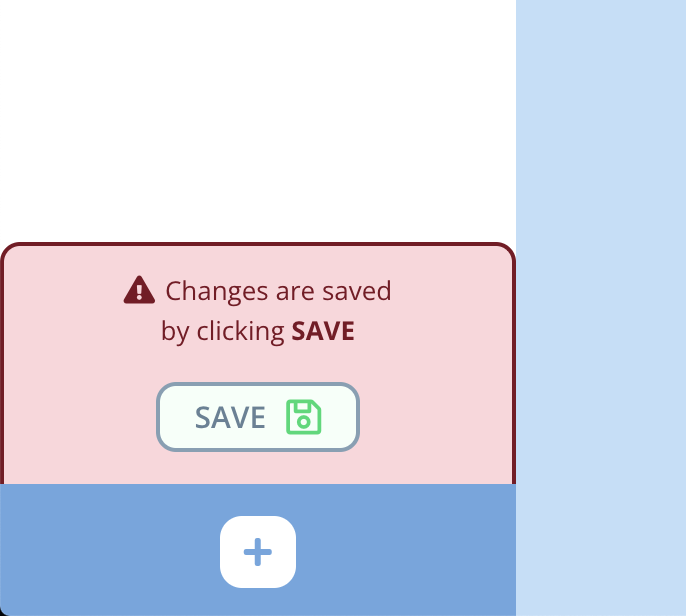
After creating each step, the admins should save the settings by clicking on the red “Save” icon on the left.
Tips for Designing Chatbot Conversations
The DIY Chatbot User Interface looks simple and is easy to use. However, the process of creating a functional chatbot conversation logic that fits customers’ needs and flows naturally might take some practice. Creating a few different flows, testing them, and seeing what works best is a great way to start.
We also recommend checking out the following resources that can help with the task.
Conversation Design Workflow: How to design your chatbot in 10 (basic) steps
10 Tips to Creating Engaging Chatbot Design People Will Use


